


Last updated: April 2026
In March 2025, a homeowner named Mark in Boston spent USD 4,200 on a DIY steam room kit and three weekends of his life on installation. Six months later, water damage in the adjacent wall framing cost him another USD 9,800 to remediate, the steam generator failed because the room volume was double what the unit was rated for, and the cedar he had chosen warped in the constant humidity. His “savings” turned into a USD 14,000 lesson in how a home steam room actually works.
Building a steam room at home is genuinely possible, and for the right homeowner with the right space, it is one of the most rewarding wellness investments you can make. But it is not a weekend project. A steam room is essentially a sealed, waterproof box that holds 100 % humidity at 40–45 °C (104–113 °F), and getting that wrong damages your home in expensive, slow ways. This guide walks through planning, room preparation, generator sizing, waterproofing, materials, ventilation, electrical requirements, and step-by-step installation, with the same engineering discipline our team applies to commercial projects for Hilton, Ritz-Carlton, and luxury private residences worldwide.
Before you start, explore our custom steam room range to see what is possible, or request a free consultation if you would prefer a turnkey installation by our team.
What does it take to build a steam room at home?
Building a steam room at home requires four things in order: a suitable room or alcove, a properly sealed waterproof envelope, a correctly sized steam generator, and code-compliant electrical and ventilation provisions. Skip or under-spec any one of these and the room either leaks, fails to reach temperature, or damages the surrounding structure. The minimum realistic budget for a code-compliant home steam room is USD 6,000–8,000 for a small DIY install, and USD 12,000–25,000 for a professionally designed and installed unit.
A home steam room is more demanding than a sauna. A Finnish sauna runs hot but dry; the timber absorbs and releases small amounts of moisture, and the room can breathe through small gaps. A steam room runs at 100 % relative humidity continuously during operation, which means every joint, screw penetration, and electrical conduit must be sealed against vapour migration. Vapour does not behave like water; it pushes through tiny pinholes and condenses inside walls, where it rots framing, corrodes fasteners, and grows mould.
Heat therapy research published in Mayo Clinic Proceedings links regular sauna and steam bathing to improved cardiovascular function, lower blood pressure, and reduced risk of dementia (Laukkanen et al., 2018). For most homeowners, the goal is not to save money on the install but to build a room they will use four times a week for the next twenty years.
How do you plan and size a home steam room?
A home steam room should be 2.4–6.0 m³ (85–210 ft³) in interior volume for one to four bathers. Anything smaller reaches saturation too quickly and feels claustrophobic; anything larger demands a commercial-grade generator and significantly higher running costs. The most common residential footprint is 1.2 m × 1.5 m × 2.1 m high (4 ft × 5 ft × 7 ft), giving roughly 3.8 m³ of interior volume.
What is the best location in your home?
The three best locations for a home steam room are an existing tiled bathroom retrofit, an attached basement room with separate drainage, and a dedicated wellness suite in a primary bathroom expansion. Each option has trade-offs. A bathroom conversion is the fastest path but limits ceiling height. A basement room handles the drainage and ventilation requirements gracefully but needs careful damp-proofing in the surrounding structure. A wellness-suite expansion gives you the most freedom but is also the most expensive.
What ceiling height do you need?
The interior ceiling should be 2.0–2.4 m (6 ft 8 in to 7 ft 10 in) and pitched slightly toward the back wall. A pitched or sloped ceiling, ideally 1–2 cm per metre of run, prevents condensation from dripping straight down on bathers. A flat ceiling in a steam room is a beginner’s mistake; the drips become uncomfortable and discourage daily use.
How do you waterproof a home steam room properly?
A home steam room needs a continuous, fully sealed vapour barrier on all six interior surfaces, behind the finish materials, with every penetration sealed using a vapour-tight membrane. The standard residential build-up, from inside out, is: tile or stone finish, thin-bed mortar, waterproof tile backer board, sealed vapour membrane, framing cavity (insulated), exterior wall sheathing. Skipping the vapour membrane is the single most common cause of long-term steam room failure.
Which waterproofing systems are reliable?
Two waterproofing systems dominate residential and light-commercial work. Sheet membranes (such as Schluter Kerdi, Wedi, or Laticrete Hydro Ban Sheet) are pre-fabricated polyethylene or bonded-foam sheets adhered to the substrate; they are forgiving for DIY installation and bridge small substrate movements. Liquid-applied membranes (such as Mapei Mapelastic AquaDefense or Laticrete Hydro Ban) brush or roll on, dry to a continuous film, and are easier on complex shapes but unforgiving of pinholes.
For seats, niches, ceilings, and corners, sheet membranes are the safer choice for a homeowner. The factory-controlled thickness eliminates the most common failure mode in liquid systems: a thin spot at a corner where vapour eventually finds its way through. The Tile Council of North America publishes detailed steam room installation methods (SR613 and SR614) that specify acceptable membrane and substrate combinations (TCNA Handbook, 2024).
How do you treat the floor?
The floor needs a mortar bed sloped at minimum 2 % toward a centre or linear drain, with a flexible vapour membrane bonded over the mortar before tile. The drain must be a dedicated steam-rated unit, not a standard shower drain; standard drains do not handle the small-volume continuous condensation that flows during and after a steam session. A poorly drained steam room floor floods within fifteen minutes of operation.
What steam generator size do you need for a home steam room?
A home steam generator is sized in kilowatts based on room volume, surface materials, ceiling height, and local water hardness. The general rule is one kilowatt of generator capacity per 1.0–1.2 m³ of room volume for fully tiled rooms, with adjustments upward for stone finishes, glass walls, or rooms colder than 18 °C ambient.
Sizing table
| Room volume | Glass or stone finishes | Tiled finishes |
|---|---|---|
| 2.5 m³ (90 ft³) | 6 kW | 4.5 kW |
| 4.0 m³ (140 ft³) | 9 kW | 6 kW |
| 6.0 m³ (210 ft³) | 12 kW | 9 kW |
| 8.0 m³ (280 ft³) | 15 kW | 12 kW |
These figures assume reasonable insulation and a closed door. Glass doors and windows lose heat faster than tiled walls, so generator sizing must compensate. Under-sizing the generator is the second most common DIY mistake we see; an undersized unit cycles continuously, never reaches saturation, and burns out heating elements within two to three years.
Where does the generator go?
The generator sits outside the steam room in a ventilated dry space within 4.5 m (15 ft) of the steam head, on a dedicated electrical circuit. A linen closet, mechanical room, or basement utility area works well. The generator needs servicing access, a floor drain or condensate line for periodic bleed-down, and clear airflow to dissipate the small amount of waste heat it produces.
Want a turnkey solution? Our custom steam rooms include the generator, controls, vapour-tight enclosure, and on-site installation, with a single point of accountability from design to commissioning.
Which materials, ventilation, and electrical specs matter most?
Three specifications make the difference between a steam room that lasts twenty years and one that fails within five: material selection, ventilation design, and electrical compliance. Each one has a small number of right answers and many wrong ones.
Which materials hold up to constant humidity?
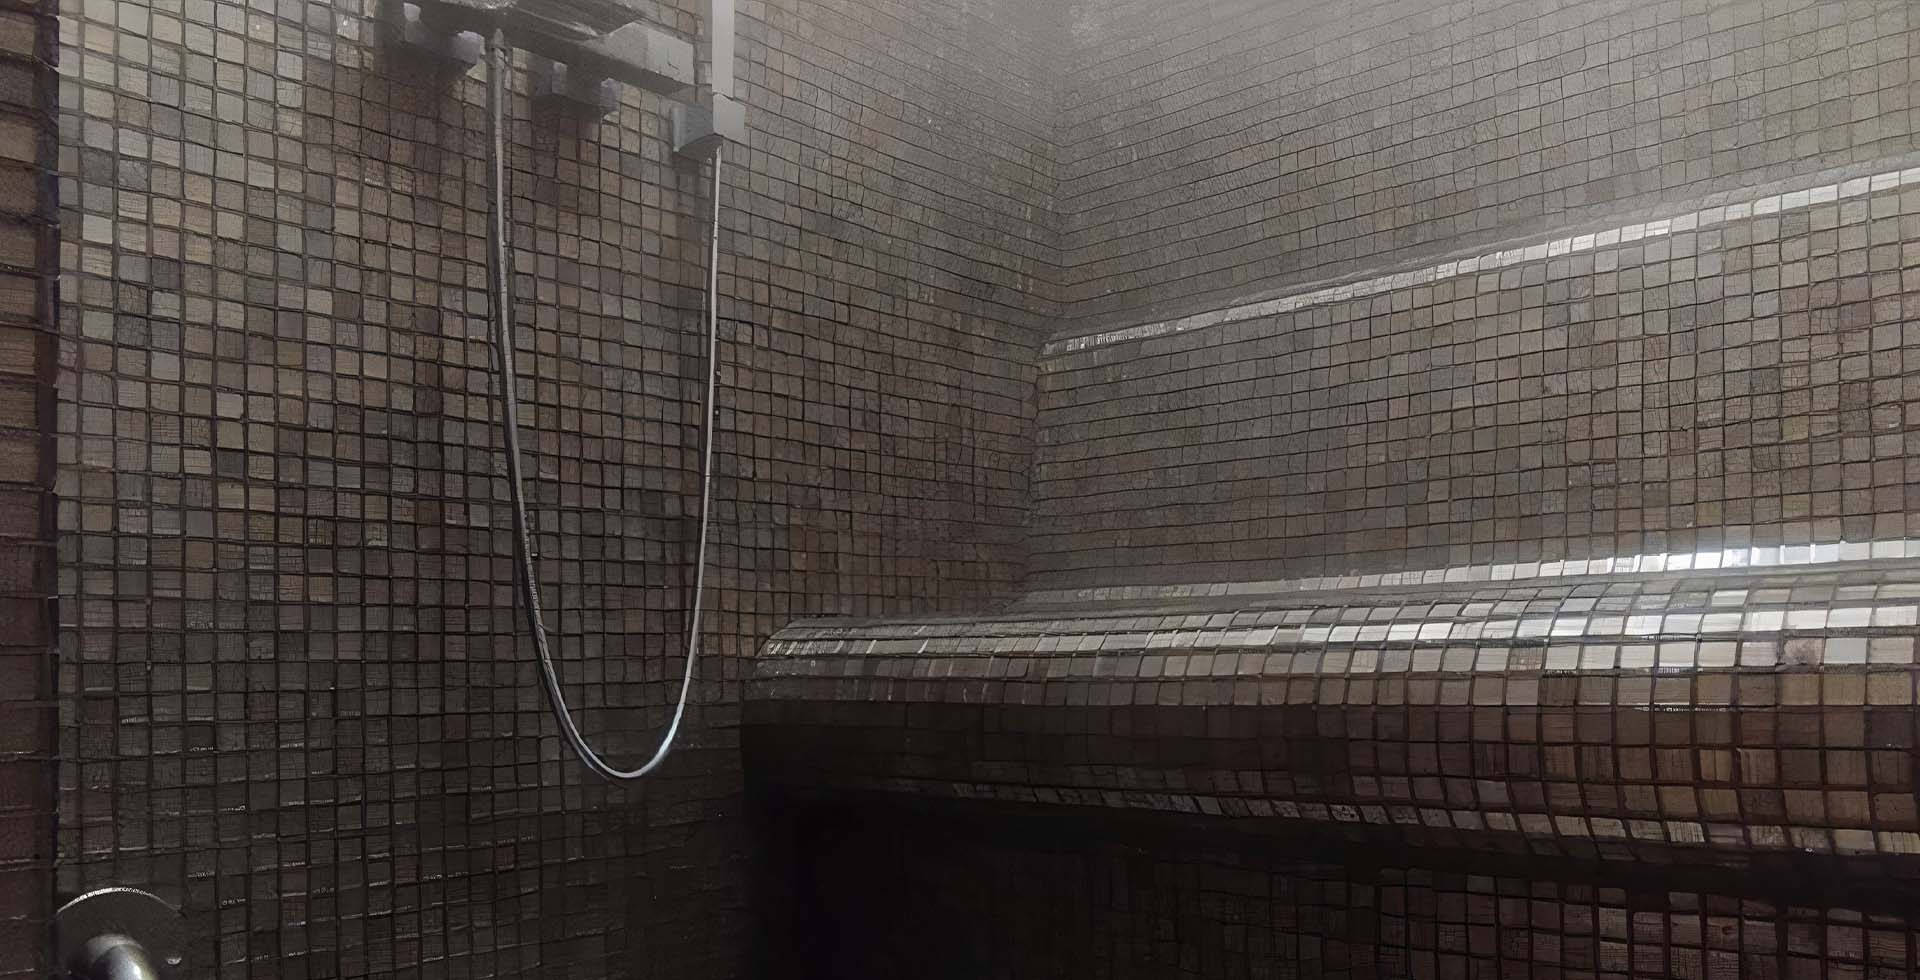
Porcelain tile, natural stone (marble, limestone, slate), glass, and properly sealed concrete are the four reliable interior materials for a home steam room. Avoid timber entirely on walls and ceilings; even cedar and teak warp and develop mould in 100 % humidity over time. Avoid grout sanded for outdoor use; specify epoxy or high-performance cementitious grout sealed against vapour penetration.
For seating, marble, granite, or composite stone with a heat-friendly finish are the standards. The seat should be raised at least 100 mm off the floor with a continuous waterproof membrane underneath; small water reservoirs hidden under seating are a recurring source of mould and odour.
Daniel, an architect leading a 380 m² private residence project in Geneva, originally specified teak slat seating to match the home’s adjacent Finnish sauna. Within four months of occupation, the seating had warped and the homeowners were getting a sour smell from the cabin. Our team replaced the seating with a marble bench on a sealed substrate, and the issue resolved permanently. Timber and steam rooms simply do not mix.
What ventilation does a home steam room need?
A home steam room requires both passive vapour management during operation and active mechanical ventilation between sessions to dry the room. Standard residential bathroom fans are not adequate for a tiled steam enclosure; the room needs a dedicated extract fan rated for 100 % humidity, ducted to outside (never into an attic or roof void), and controlled to run for 20–30 minutes after each session.
Ventilation rates of 30–60 cubic metres per hour, or roughly 18–35 cubic feet per minute, are typical for a residential steam room. The fan must be specified for continuous wet-rated duty; a normal bathroom fan corrodes within a year of constant steam exposure.
What electrical specifications are required?
A home steam generator typically needs a dedicated 30–60 amp circuit at 240 V (US) or 230 V (UK and EU), wired to local code, with a properly sized GFCI or RCD breaker. Lighting inside the steam room must be IP65 or higher rated, with fittings designed for high-temperature, 100 % humidity environments. Use copper conductors, not aluminium, for any wiring within 2 m of the steam enclosure.
Electrical work for steam rooms is one area where DIY rarely makes sense. A licensed electrician familiar with wet-room installations should size the circuit, verify breaker compatibility, and certify the install. The cost of an electrician (USD 600–1,500 in most US markets) is small relative to the cost of a fault.
What is the step-by-step process to install a home steam room?
A typical home steam room installation runs through twelve sequential steps. The order matters; skipping ahead or working out of sequence creates rework and quality problems that are difficult to fix later.
- Confirm space and structure. Measure interior dimensions, verify floor load capacity, check ceiling height, identify drainage and electrical paths.
- Design the layout. Draw the door swing, seat position, steam head, lighting, drain, and any glass walls. Lock the design before purchasing materials.
- Select the generator and controls. Size the generator from the table above. Choose a control with timer, thermostat, and aroma dosing if desired.
- Run electrical and water. A licensed electrician installs the dedicated circuit; a plumber installs the water feed and drain line for the generator.
- Frame the enclosure. Use treated lumber or galvanised steel studs at 400 mm (16 in) centres. Pre-drill any future fastener locations.
- Slope and waterproof the floor. Pour the sloped mortar bed, cure, then bond the vapour membrane and dedicated steam drain.
- Install the vapour barrier on walls and ceiling. Continuous sheet membrane with sealed seams, taped at all corners and penetrations.
- Install the tile backer board and finishing materials. Tile, stone, or glass, with sealed grout joints throughout.
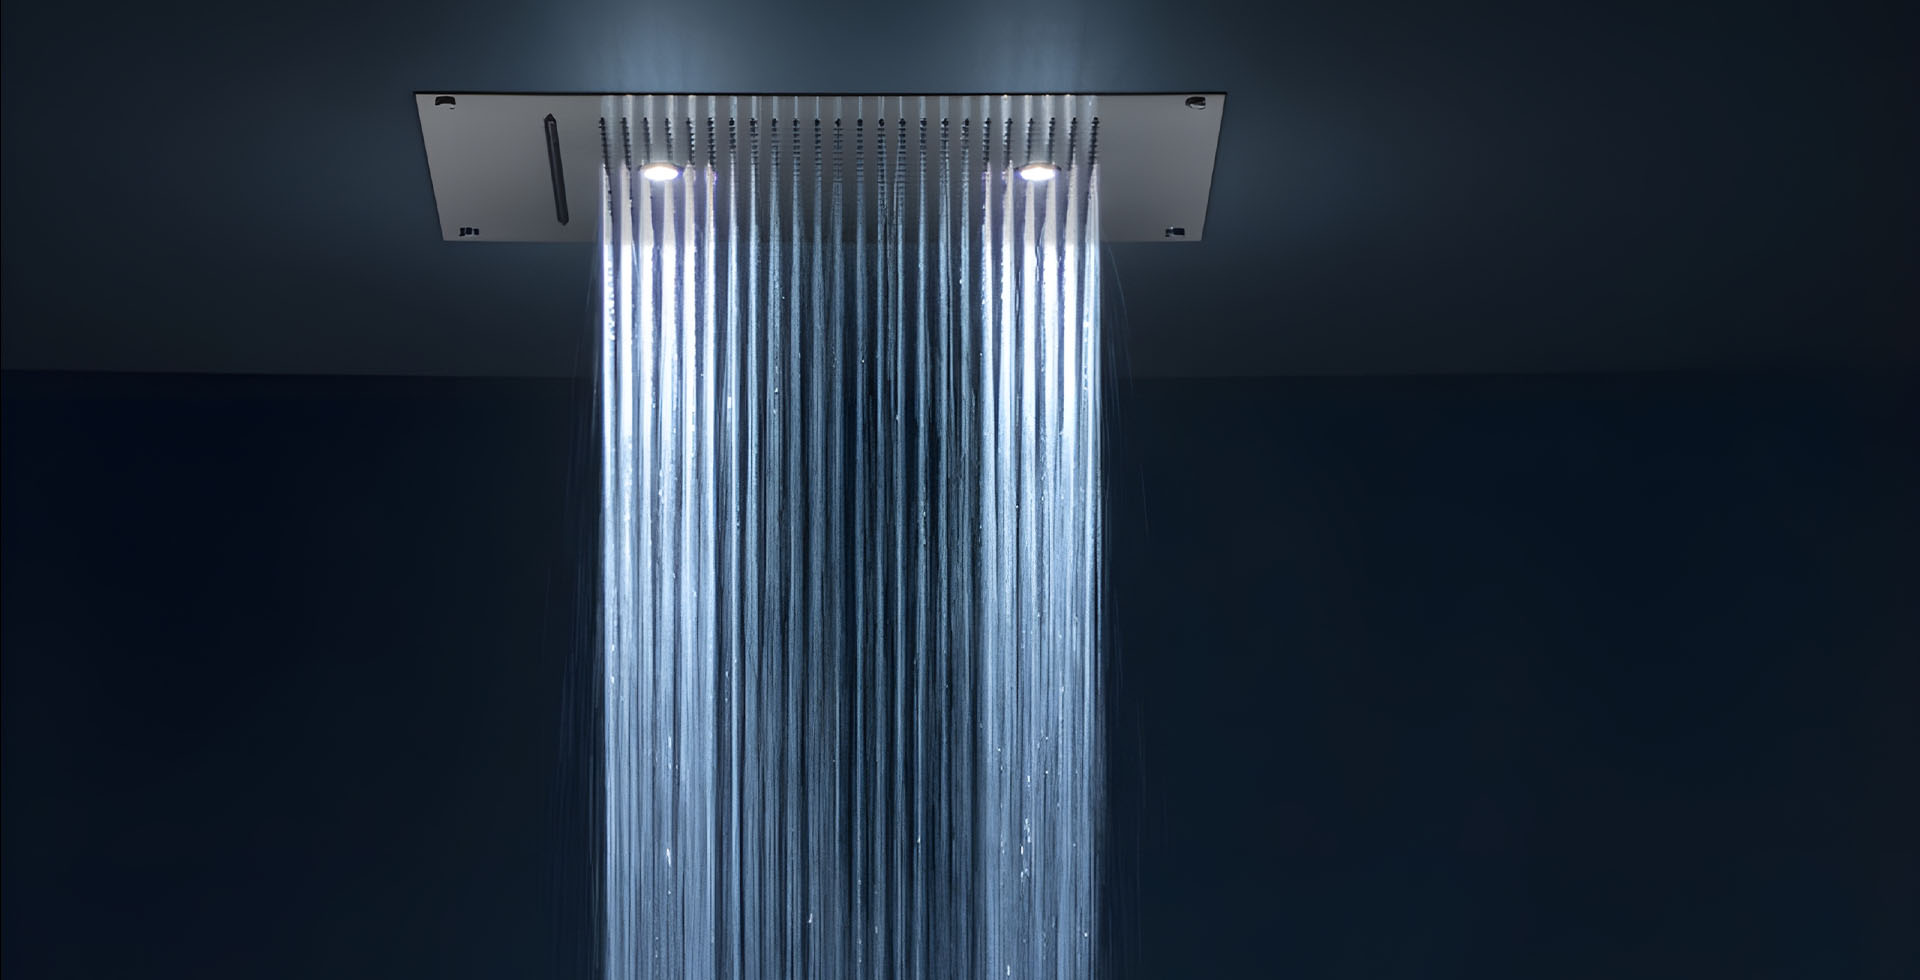
- Install the steam head, lighting, controls, and door. Use steam-rated fittings only.
- Commission the generator. Fill the line, run a 30-minute test cycle, check for leaks at every joint.
- Verify ventilation. Test the extract fan, set the post-session timer, confirm humidity drops to ambient within 30 minutes.
- Seal and finish. Caulk perimeter joints with mould-resistant silicone, install seating, complete cosmetic finishes.
A confident DIY homeowner can complete this sequence in 6–10 weekends. A professional team typically completes the same install in 6–10 working days.
When should you choose a custom-built steam room over DIY?
Choose a custom-built steam room over DIY when any of these apply: you do not have prior tile and waterproofing experience, your space has irregular geometry, you want a glass-walled or stone-clad design, or your local climate has significant heating or freezing complications. The cost difference between a successful DIY install and a professionally built unit is typically USD 4,000–12,000, and that gap closes quickly once you account for design time, material waste, and risk of remediation.
For a 280-room luxury hotel project in Dubai, our team delivered a residential-style steam suite in the presidential apartment with marble walls, a glass front, integrated aroma dosing, and a hidden generator behind a service panel. The same level of finish in a private residence is exactly what most homeowners are reaching for when they start a DIY project, and it is also where DIY most often fails. A custom steam room from our team includes the design, manufacturing, vapour-tight enclosure, generator, controls, and on-site installation as a single package, with a 38-year manufacturing track record behind every project.
If you are also considering a Finnish sauna, a traditional hammam, or a full private spa suite, our team can plan the wider wellness area together.
Frequently asked questions about building a home steam room
Can you put a steam room in an existing bathroom?
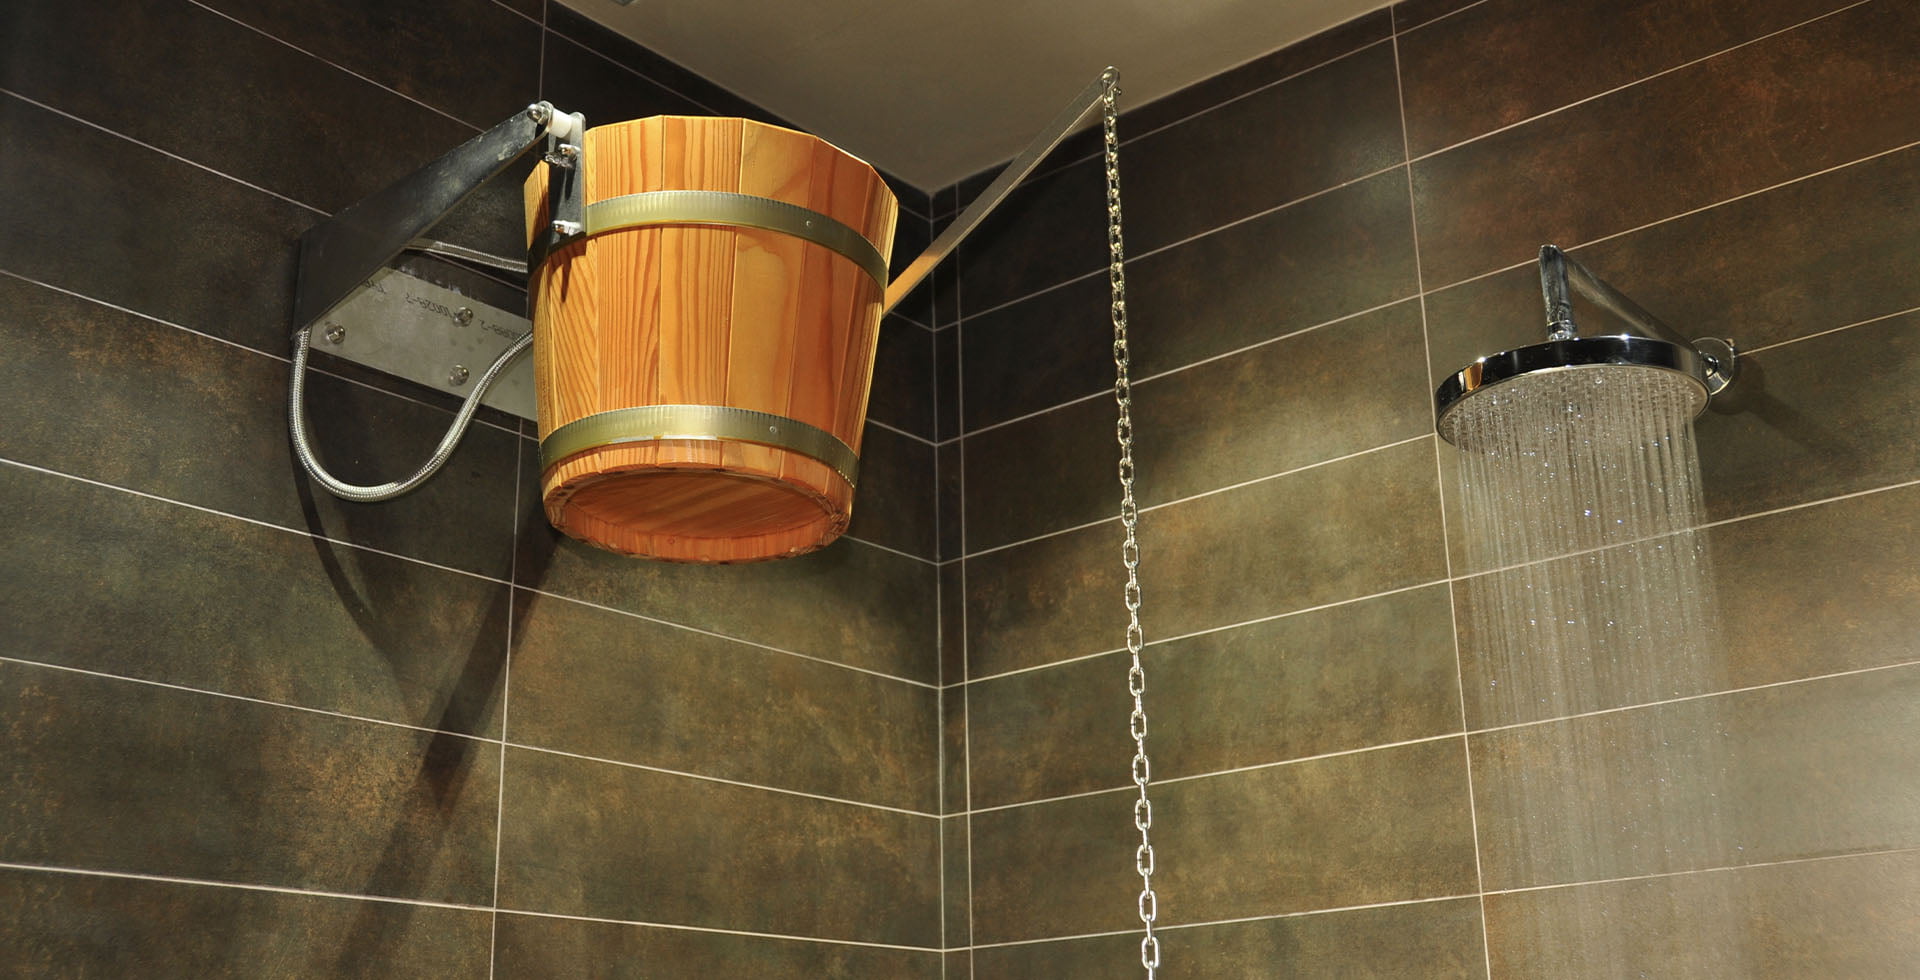
Yes, with the right preparation. The bathroom must have at least 2.0 m of ceiling height, a properly sloped floor with a steam-rated drain, and a dedicated electrical circuit. The shower-and-steam combination is the most common retrofit, with a fully tiled shower enclosure converted into a sealed steam cabin.
How long does a home steam room take to install?
A professionally installed home steam room takes 4–8 working days once materials are on site. A DIY installation typically takes 6–10 weekends, plus an additional 1–2 weeks of cure time for tile, mortar, and grout systems before the room can be commissioned.
How much does it cost to run a home steam room?
Operating costs run USD 0.40–1.00 per 30-minute session at 2026 US electricity prices, depending on generator size and water heating. A household using the room four times a week typically spends USD 8–18 per month on energy.
Can you build a steam room with a wood interior?
No. Wood absorbs water at 100 % humidity, warps, splits, and grows mould inside the closed cavity. Cedar, hemlock, and teak are excellent for saunas at 80–100 °C with 10–20 % humidity but fail in steam room conditions. Use porcelain, stone, glass, or sealed concrete only.
Do you need a permit to build a steam room at home?
In most US, UK, and EU jurisdictions, yes. Steam rooms typically require electrical and plumbing permits, and depending on the local code, a building permit for the enclosure. Working without permits creates resale issues and may void homeowner insurance if water damage occurs.
What is the minimum size for a home steam room?
The smallest practical home steam room is 0.9 m × 1.2 m × 2.0 m (3 ft × 4 ft × 6 ft 6 in), giving roughly 2.2 m³ of volume for one bather. Anything smaller is uncomfortable and difficult to seal at the corners, where most leaks originate.
Should a home steam room have a window?
Generally no. Glass walls and windows lose heat 5–8 times faster than tiled walls, increase generator sizing requirements, and risk thermal stress fractures over time. If a window or glass wall is essential for design reasons, specify laminated or tempered glass rated for high-humidity environments and increase the generator size by one tier.
Building a steam room you will use for decades
A successful home steam room is the result of careful planning, disciplined waterproofing, correctly sized equipment, and code-compliant electrical and ventilation work. Skip any one of those and the project becomes an expensive lesson; do all four well and you have a wellness asset that pays back every week for the next twenty years. Saunas and steam rooms remain among the most-used home features in any property that includes them, far more than home gyms or media rooms (Global Wellness Institute, 2024).
Our team has manufactured and installed custom steam rooms for 38+ years across hotels, fitness centres, and private residences worldwide. If you are weighing DIY against a professionally built solution, request a free consultation and we will walk you through space, design, materials, and investment level, with no obligation.
Sources
- Laukkanen, J.A., Laukkanen, T., & Kunutsor, S.K. (2018). Cardiovascular and Other Health Benefits of Sauna Bathing: A Review of the Evidence. Mayo Clinic Proceedings, 93(8), 1111–1121. mayoclinicproceedings.org
- Global Wellness Institute (2024). The Global Wellness Economy: Country Rankings. globalwellnessinstitute.org/industry-research/the-global-wellness-economy/
- Tile Council of North America (2024). TCNA Handbook for Ceramic, Glass, and Stone Tile Installation: methods SR613 and SR614 for steam rooms. tcnatile.com

